How to use a Ledger Nano S Plus?
Hardware wallets keep your Bitcoin private keys offline and secure. Some Bitcoiners refer to hardware wallets as “signing devices.” This is an appropriate term because that is fundamentally what people use hardware wallets for. They want to sign (send) BTC transactions without having their private keys on their computer that is directly connected to the internet.
In order to use a hardware wallet effectively, it's important to understand the process of setting it up and securing your Bitcoin. In this guide, we'll walk you through the steps to set up a Ledger Nano S Plus, one of the most popular hardware wallets in the market.
Before we dive into the setup process, let's quickly define a few key terms:
Recovery (Seed) Phrase: 24 words that can fully recover your Bitcoin private keys.
PIN code: A 4 to 8 digit code that adds an extra layer of security to your hardware device.
Passphrase (optional): Some hardware wallets offer the option to add an additional passphrase as a “25th word” for enhanced security.
Now, let's proceed with the setup:

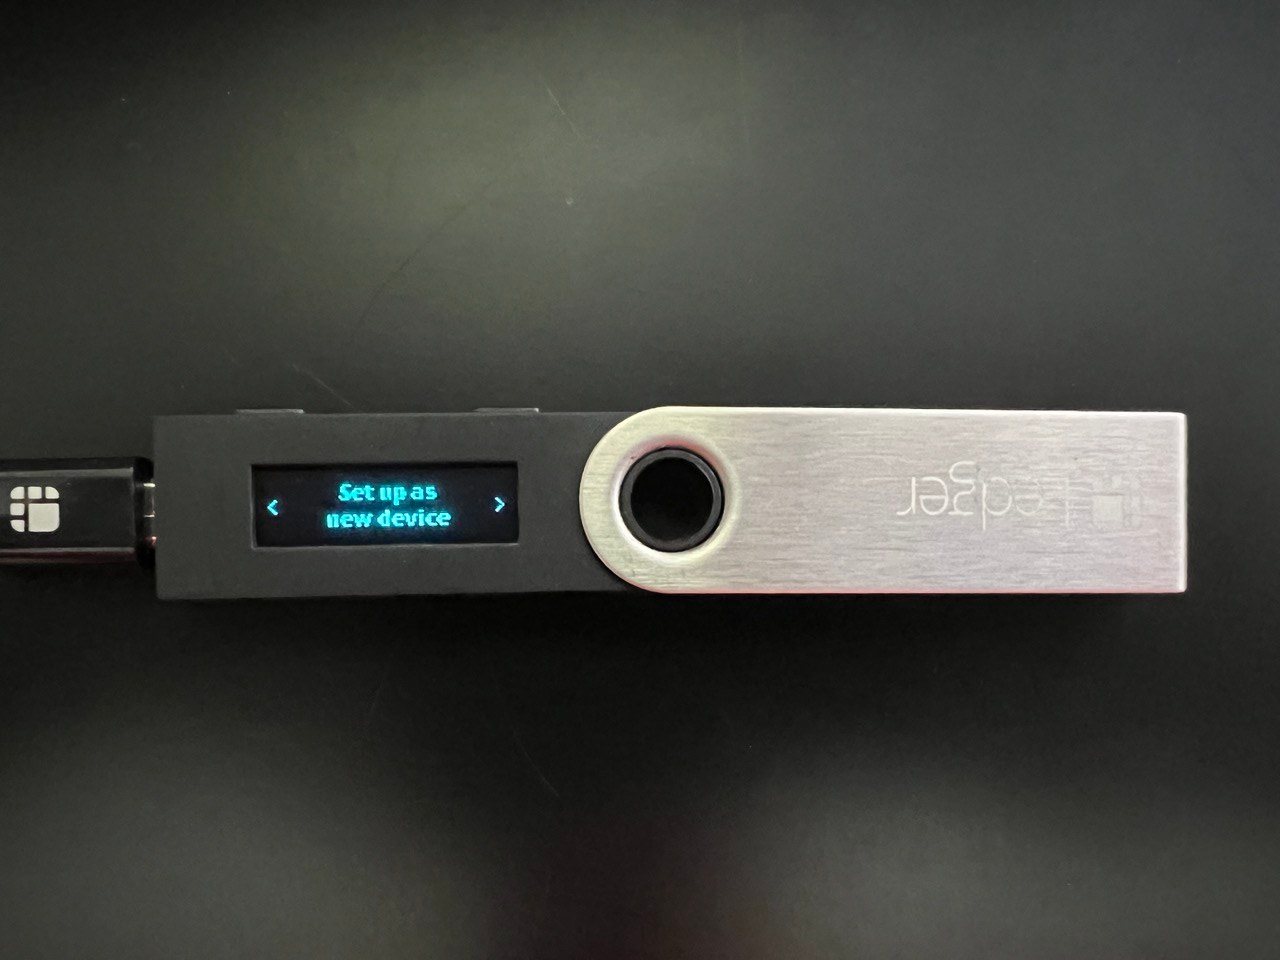
1. Set up as a new device
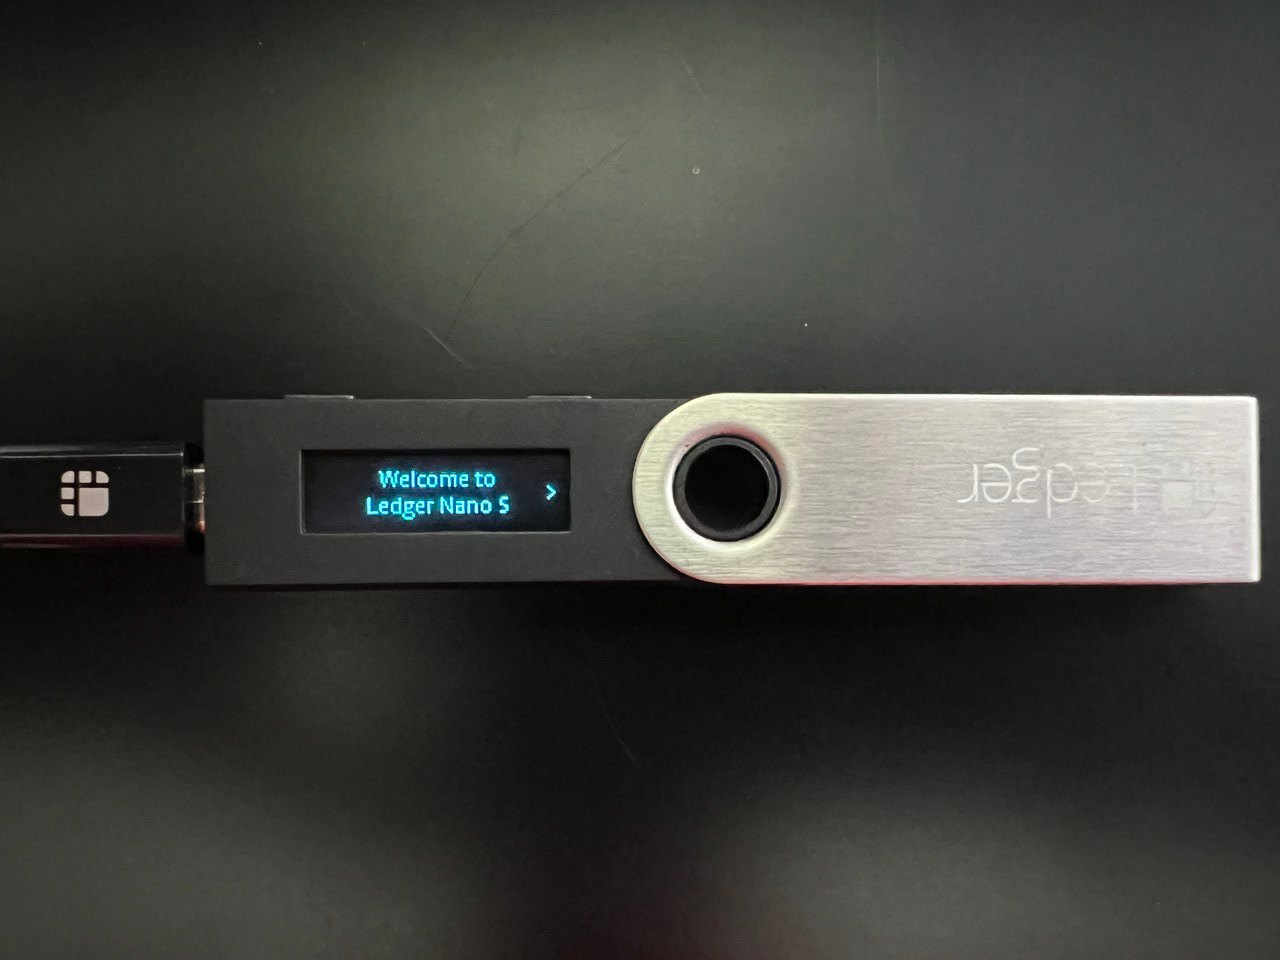
Simply open the box, pull out the Ledger, and connect the device to your computer using the supplied USB cable. There should be a welcome message on the device.
You can use both the left and right buttons on the Ledger Nano S Plus to navigate the device.
To set up the device as new, simultaneously press and hold both buttons on the Ledger Nano S Plus. This action will initiate the setup process.

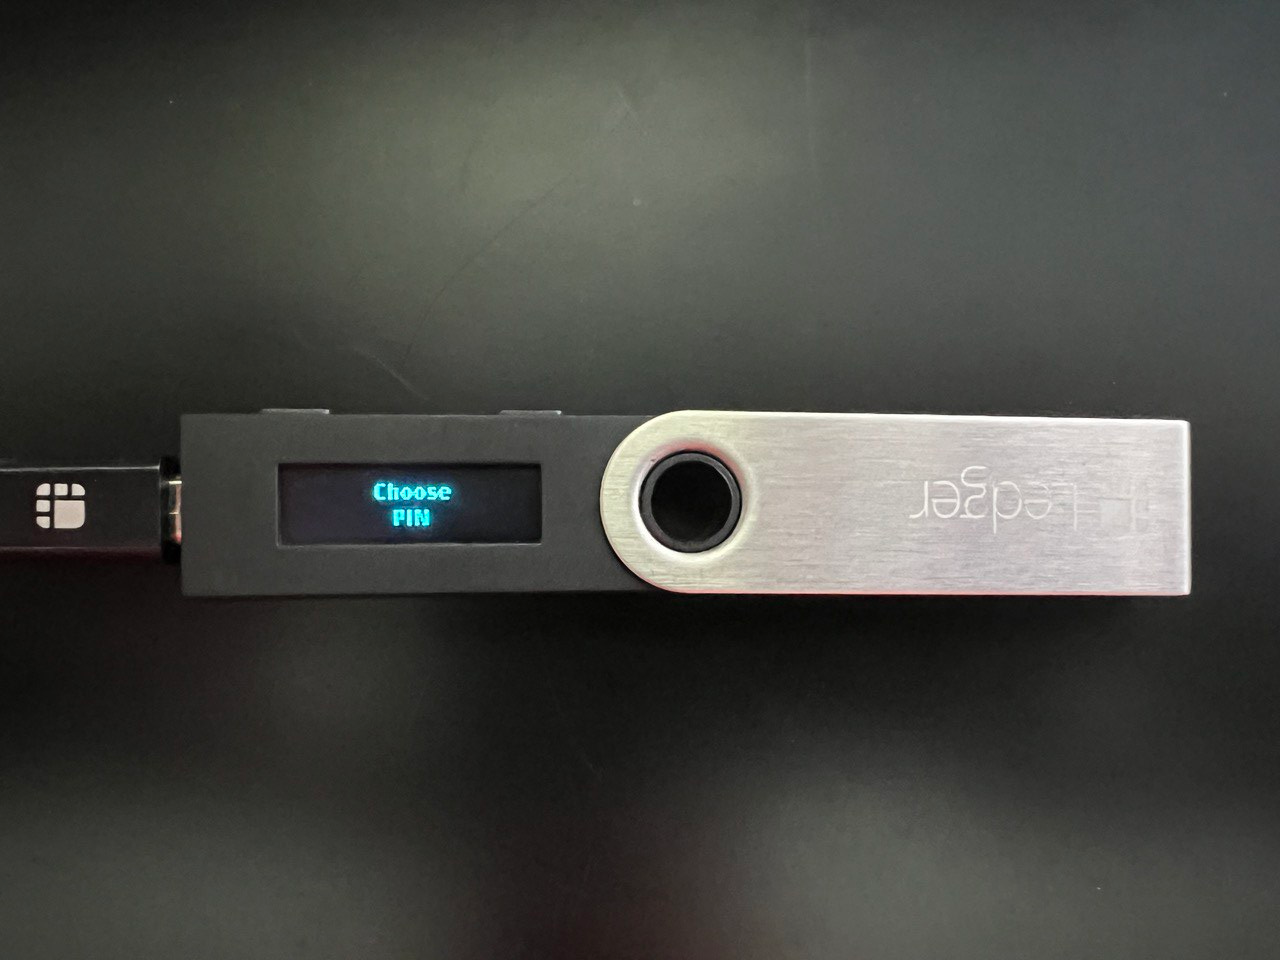
2. Choose PIN code
When prompted with the "Choose PIN code" message on the device's screen, press both buttons to proceed.
Use the right or left button to select the first digit of your PIN code. Press both buttons to enter the chosen digit. Repeat this process until you've entered a 4 to 8 digit PIN code.
To confirm your PIN code, select the checkmark (✓) and press both buttons. If you make a mistake, you can use the backspace icon to erase a digit. Finally, re-enter your PIN code for confirmation.

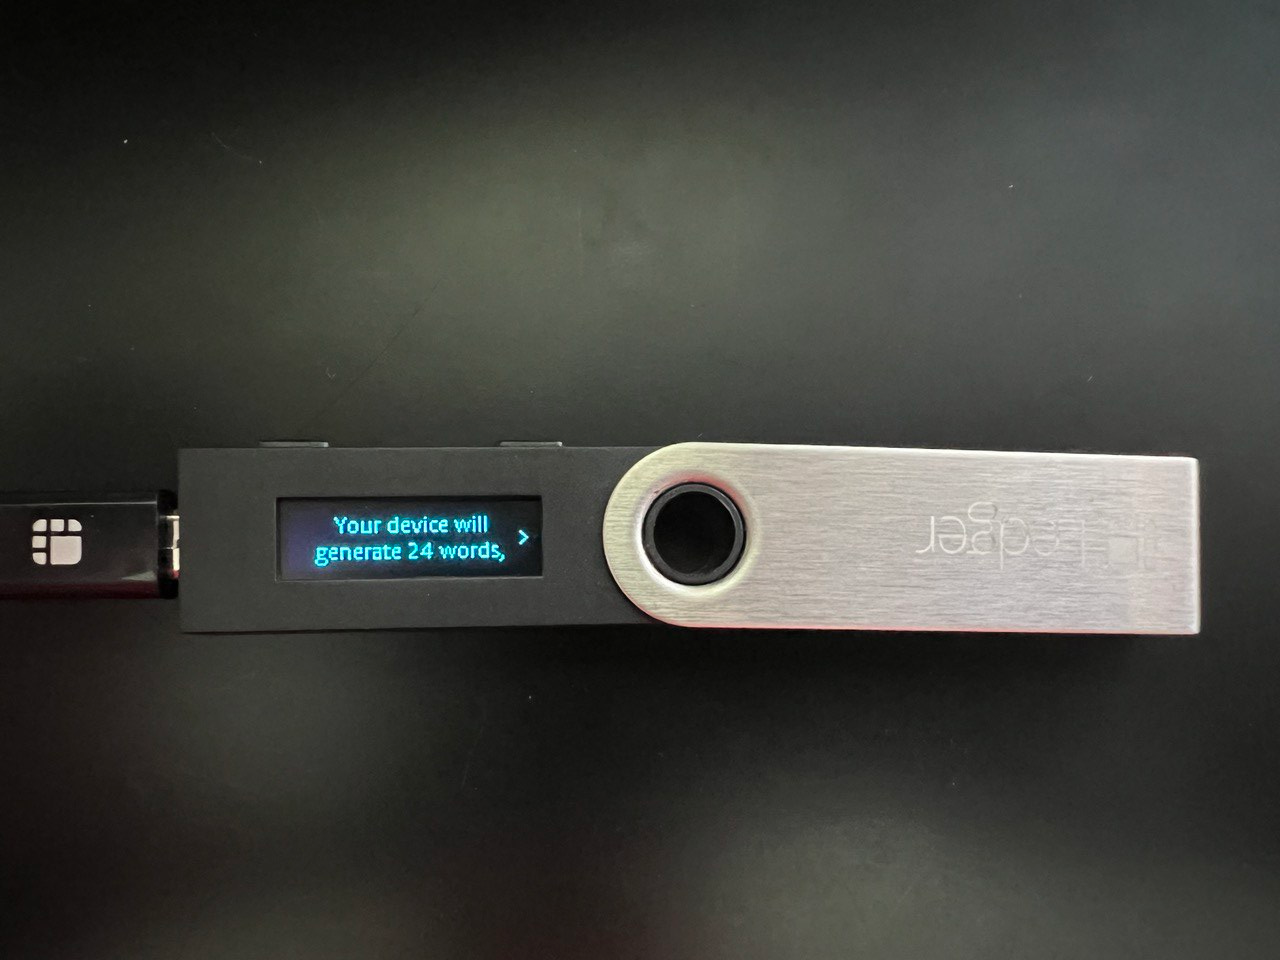
3. Write down your recovery (seed) phrase
Your recovery phrase consists of 24 words that hold the key to recovering your Bitcoin. It is crucial to store this information securely offline, using methods like writing it down on paper or engraving it on a metal plate.
It’s also important to know the order of these words matter, so be sure to record word #1 as word #1 and word #24 and word #24. The same words in a different order would correspond to a completely different set of private keys.
After you record your recovery phrase, your ledger device will ask you to confirm your phrase by reselecting each word. This is important because it will ensure that you correctly recorded your phrase in case you ever do need to use the backup.
After successfully confirming your recovery phrase, you can press both buttons to access the dashboard where you can finally access apps and settings on your device.


4. Open Ledger Live, update firmware, and install the Bitcoin app
Ledger Live is Ledger’s own wallet software available on desktop and mobile.

When you first open Ledger Live, you may be prompted to update your device’s firmware to the most recent version. This is always a good idea as Ledger is always working to improve the security of your private keys, fix bugs, and add new features.

After opening Ledger Live and connecting your Nano S Plus hardware wallet, you can install various apps including the Bitcoin app, which is required to use Bitcoin and Theya’s multi key wallet.
To install the Bitcoin app, you navigate to the “My Ledger” tab, view the “App catalog” and click “Install” next to “Bitcoin (BTC).” Once installed, you will have what you need to start using Bitcoin on your Ledger device.
5. (Optional) Install Bitcoin Testnet
If you want to test your Ledger before receiving and sending real BTC, consider using testnet coins (an alternative Bitcoin blockchain used for testing purposes). In order to install the Testnet app, you need to click the settings button in the top right corner of Ledger Live, select “Experimental features,” and turn on developer mode.

Once developer mode is selected, you can navigate back to the “My Ledger” tab and search “Bitcoin Test” in the app catalog.

By completing these steps, you have now successfully set up your Ledger Nano S Plus hardware wallet and installed the Bitcoin app. You are one step closer to securing your Bitcoin with unmatched protection.
Remember, a hardware wallet ensures the safety of your Bitcoin by keeping your private keys offline. With this newfound control, you can confidently sign transactions without exposing your keys to the vulnerabilities of an internet-connected computer.
Stay ahead, and embrace the future of Bitcoin with the power of a hardware wallet.